

Indonesia Visa: 7 Essential Steps for a Smooth, Amazing Trip
An Indonesia visa is one of those travel details that feels intimidating until you break it into small, practical steps. Whether you’re planning a short holiday, a longer backpacking route, or a first visit to Bali, the best approach is to confirm your own requirements before you book anything non-refundable.
Rules can depend on your passport, purpose of travel, length of stay, and intended entry point. That means advice shared by another traveler may not apply to you. In this guide, I’ll show you how to organize your Indonesia visa application, distinguish between common entry options, prepare for arrival, and avoid the mistakes that create unnecessary stress.
Step 1: Decide Which Indonesia Visa You Actually Need
The first step in an Indonesia visa plan is deciding what you intend to do and how long you intend to stay. A tourist holiday, business visit, study period, volunteering arrangement, remote-work plan, and family visit can involve different requirements, so don’t begin with a form before defining your trip.
Write down your passport country, intended arrival date, estimated departure date, purpose of travel, and whether you expect to leave and re-enter Indonesia. This simple checklist gives you a much clearer starting point than searching for a generic answer. It also helps you notice when a supposedly simple holiday has become a longer or more complicated stay.
Be especially careful if your plans include paid work, organized volunteering, filming, journalism, study, or commercial activity. A tourist permission may not cover every activity you want to undertake. If your itinerary changes after arrival, check the current official instructions before assuming that an informal change is acceptable.
I also recommend keeping your plans realistic. If you’re flying into Bali but hope to travel through Java, Lombok, Flores, and several smaller islands, allow enough flexibility for transport changes and weather. Immigration planning is easier when your intended stay and activities are clear.
Step 2: Check Indonesia Visa Rules for Your Passport
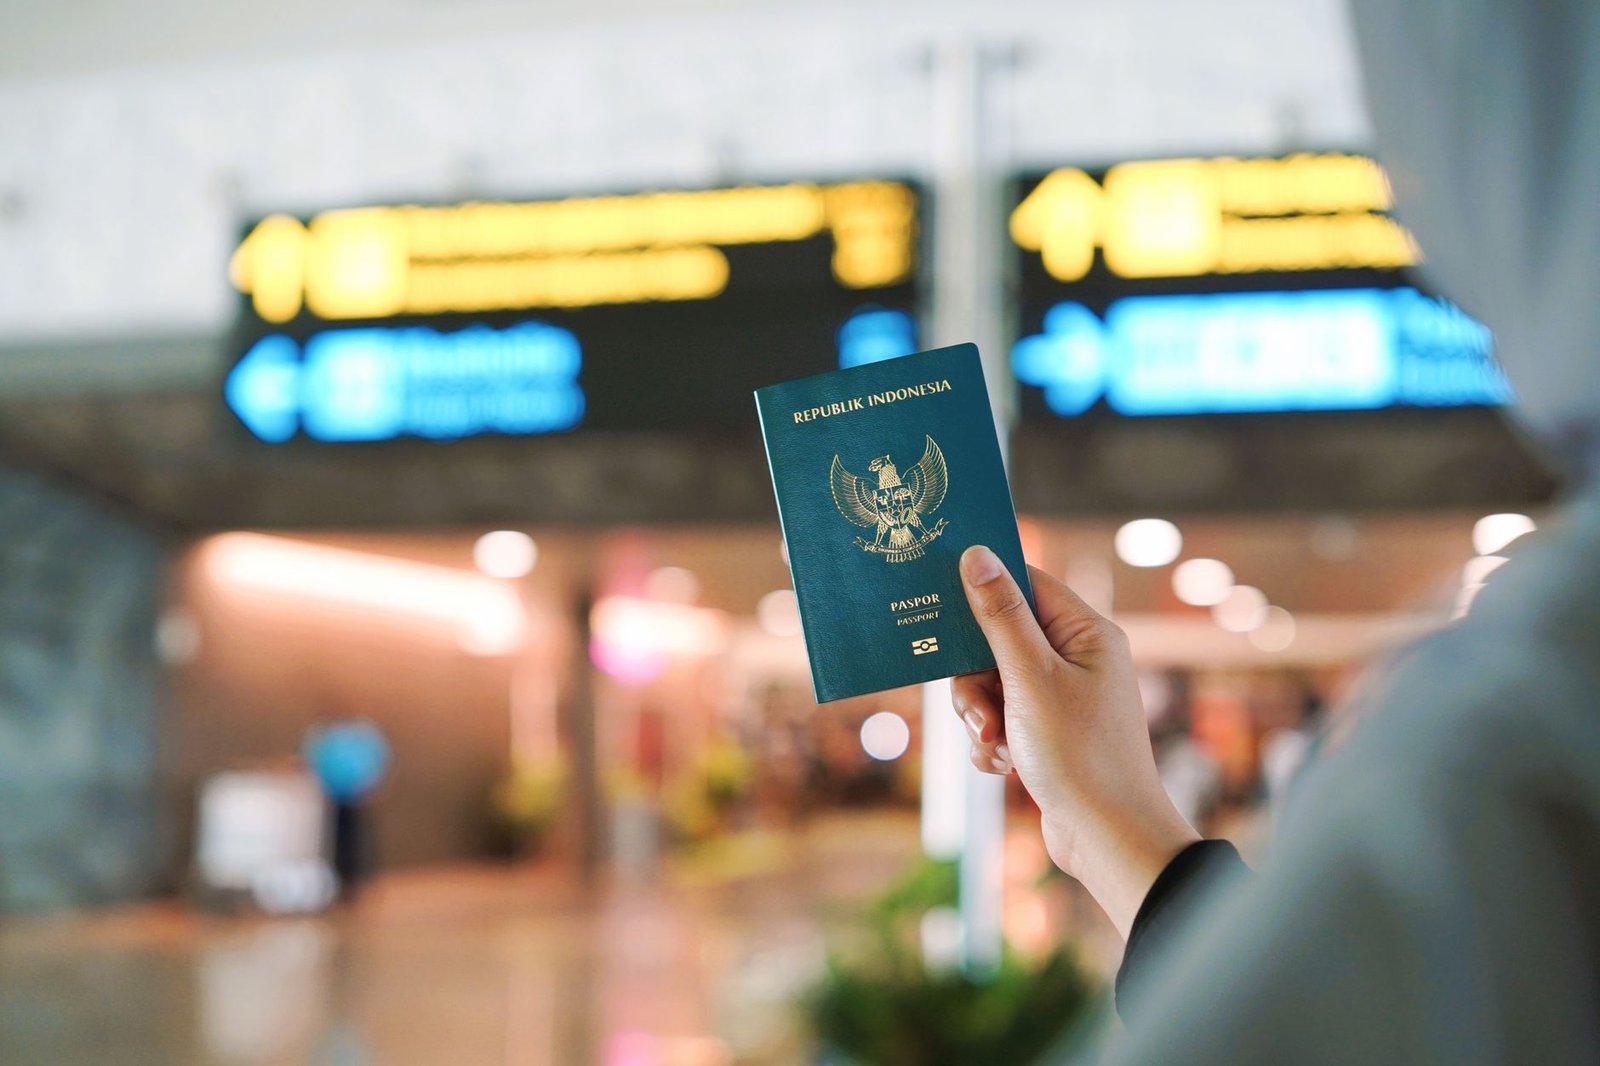
The second step is checking the Indonesia visa rules that apply to your nationality, because entry arrangements are not identical for every traveler. Use the current official information relevant to your passport rather than relying on a blog post, social-media video, or friend who traveled under different conditions.
Travelers researching an Indonesia visa for US citizens should confirm the latest instructions for United States passport holders directly. The same applies to an Indonesia visa for Indians: do not assume that a friend with another passport followed the same process. Nationality is only one part of the picture, but it is an important starting point.
Check whether your nationality may use an Indonesia visa on arrival, whether an online application is available, and whether your intended purpose of travel fits that route. If you are comparing an Indonesia visa on arrival for US citizens, verify the conditions for the exact passport you will carry, including whether you are traveling on an ordinary passport and whether your trip purpose is eligible.
Use the government information available at the time of planning and save a copy or screenshot of the relevant page. Requirements can change, and having a record of what you checked can help you identify which details need to be reconfirmed before departure.
Step 3: Gather Every Document Before Starting Your Indonesia Visa Application
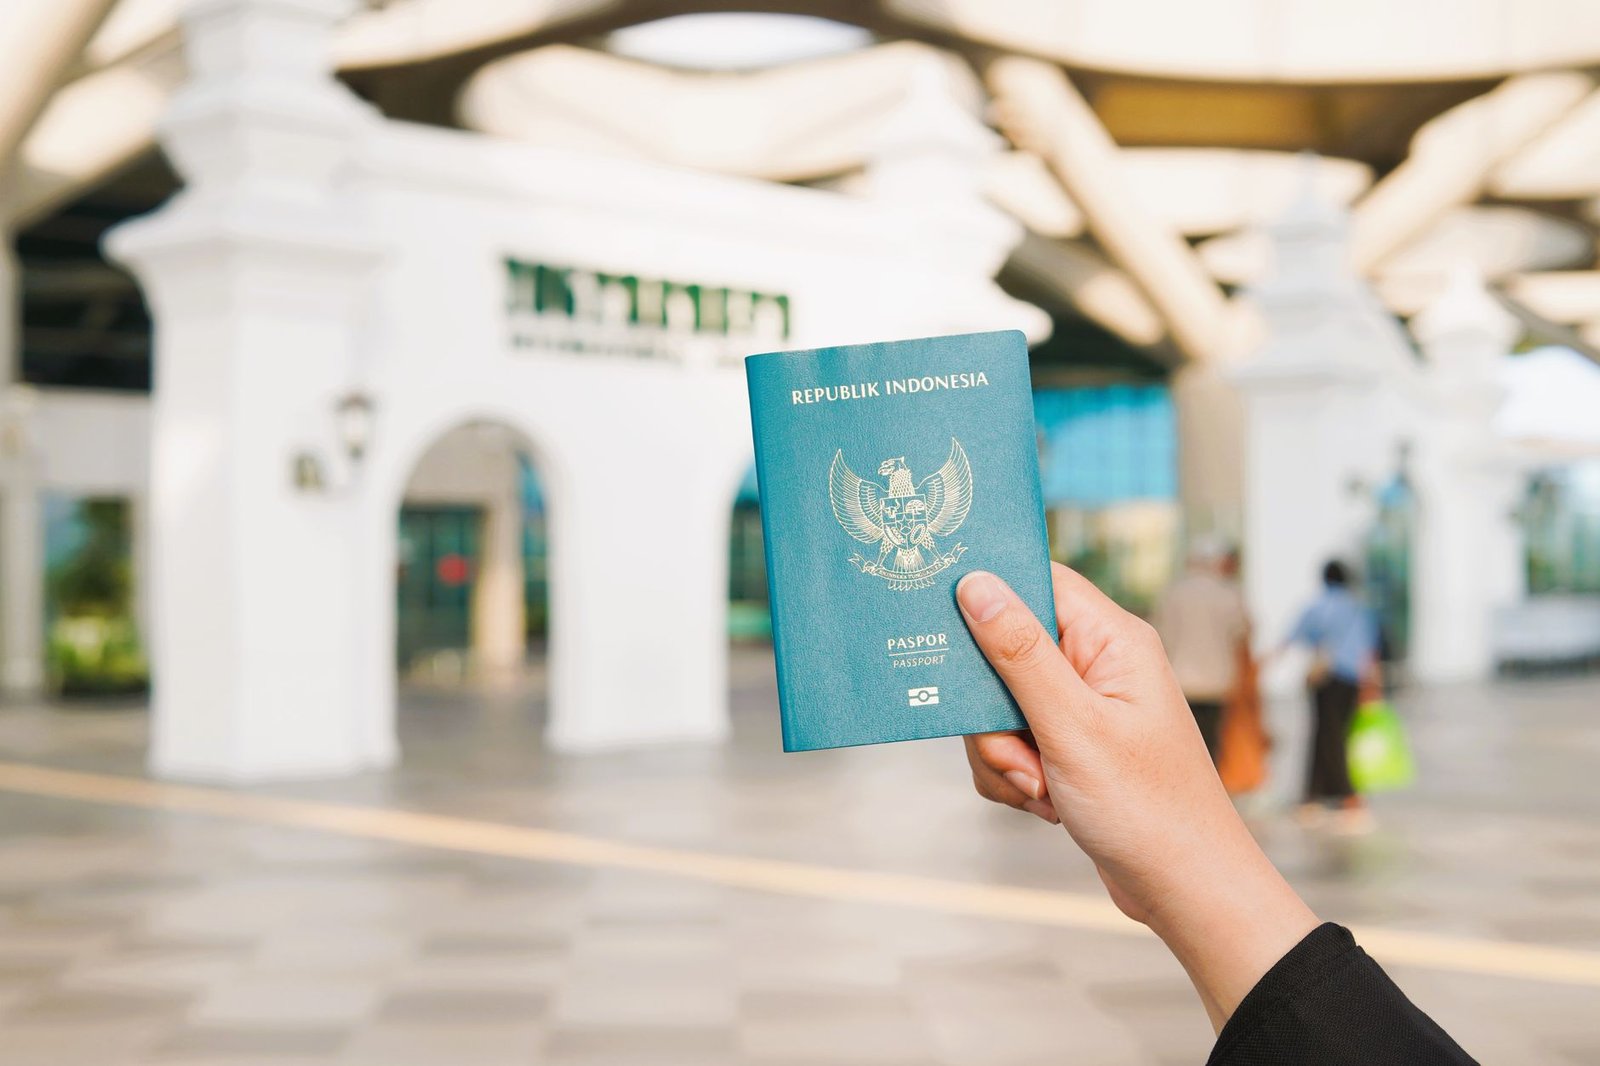
A smooth Indonesia visa application begins with organized documents, not with hurried form-filling. Make a folder containing your passport details, travel dates, accommodation information, onward or return plans where requested, and any documents connected to your purpose of travel.
Check that names, passport numbers, dates, and booking details match across your documents. A small typing error can create more trouble than the application itself. I like to prepare both digital copies and offline backups, while keeping the original passport accessible rather than buried at the bottom of a backpack.
Some travelers focus so heavily on the application that they forget the arrival stage. Keep your approval or payment confirmation available on your phone and, if practical, as an offline file. Make sure your phone can open the document without depending on airport Wi-Fi.
Before submitting anything, pause and review every field. Confirm the spelling of your name exactly as it appears in your passport, select the correct travel purpose, and check that the requested dates make sense. If a question is unclear, consult the relevant official guidance rather than guessing.
Do not upload edited or misleading documents. If your accommodation, flight, or itinerary changes, check whether the information needs to be updated. Good preparation is not about creating a perfect-looking application; it is about presenting accurate information consistently.

Step 4: Choose Between an Online Route and Indonesia Visa on Arrival
The fourth step is choosing the application route that fits your nationality and travel plans. Depending on the current rules, travelers may compare an online route with an Indonesia visa on arrival, but convenience should never replace checking eligibility.
An online process may suit travelers who prefer to organize documents before departure and avoid making a decision during a busy arrival. An arrival option may appeal to someone with a straightforward trip, provided their nationality, passport, purpose, and entry circumstances meet the current conditions.
If you’re comparing an Indonesia visa on arrival for US citizens, check the latest details for United States passport holders immediately before travel rather than depending on an old forum comment. Travelers asking about an Indonesia visa for Indians should do the same through information that specifically applies to Indian passport holders.
There is no universal “best” route. The right choice depends on how much you value advance preparation, how flexible your itinerary is, and whether your travel purpose is simple enough for the option you are considering. I prefer to remove avoidable decisions before a flight, so I would normally organize anything that can be completed properly in advance.
Keep in mind that approval to enter is separate from your airline journey. Your carrier may check documents before boarding, and border officers may review your information on arrival. Carry the documents that support the trip you described.

Step 5: Plan Your Arrival and First Days in Indonesia
Your Indonesia visa plan should include the first day, because arrival is when even a well-prepared traveler can feel overwhelmed. Save your accommodation address, arrange a way to reach it, and make sure you know what documents you may need to show.
Airports can be busy, and the easiest transport choice depends on your destination, luggage, arrival time, and comfort with navigating a new place. If you want to compare pre-booked options for airport pickups or private transfers, you can compare Indonesia transfer and travel options with EKTA. Check the destination, pickup instructions, luggage conditions, and cancellation terms before booking.
Keep your first day light. A long flight followed by a complicated island connection is a recipe for exhaustion, especially if you’re traveling solo. I’d rather spend the first evening eating something simple, checking into a comfortable room, and confirming the next day’s plan than rush directly into a packed itinerary.
Be ready to explain your trip clearly if asked: where you’re staying, why you’re visiting, and how long you plan to remain. You don’t need a dramatic story. Accurate, consistent answers and accessible documents are the useful things to have.
Step 6: Understand Extensions, Departures, and Changes of Plan
An Indonesia visa is not a substitute for tracking your permitted stay. From the day you enter, record the relevant date and set reminders well before you need to leave or take any action.
Travelers often discover that Indonesia is easy to enjoy but difficult to rush. You may plan a short visit and then want more time for beaches, temples, diving, hiking, or meeting people along the route. If that happens, do not wait until the last moment to investigate extension possibilities. Check the current official process and use an authorized channel where required.
Make a simple calendar with your entry date, permitted departure date, any appointment or application deadline, and your intended onward travel. Keep copies of confirmations and note which documents relate to which stage. This is particularly helpful if you are moving between islands or changing accommodation frequently.
If your purpose changes, treat that as a new immigration question rather than a minor itinerary adjustment. Paid work, formal volunteering, study, and other structured activities may require different authorization. When in doubt, pause and verify before participating.
Departure planning matters too. Check that your passport and documents are accessible, that your onward route still works, and that you have allowed time for transport delays. A relaxed final day is much better than discovering a documentation problem while already rushing to the airport.
Step 7: Add Connectivity and Backup Planning to Your Indonesia Visa Checklist
The final step is preparing the practical tools that help you manage your trip after approval. Reliable mobile data can make it easier to access confirmations, maps, translation tools, accommodation details, and official updates while moving between destinations.
You can compare Indonesia eSIM options on Airalo before departure. Check whether your phone is compatible, when activation begins, how much data is included, and whether the plan covers the places on your route. Install or prepare the eSIM while you have dependable internet, but follow the provider’s current instructions carefully.
Connectivity is helpful, but it should not be your only backup. Save your accommodation address, passport information, travel confirmations, and important contact details offline. Carry a small amount of payment flexibility, keep copies of key documents separate from your passport, and tell someone you trust where your broad itinerary is heading.
If you enjoy meeting people, choose accommodation or activities that create natural social opportunities: a small group food experience, a cooking class, a walking tour, or a hostel common area. Solo travel does not have to mean eating every meal alone. At the same time, leave room to step away from a group when you need quiet.
For a wider Southeast Asia itinerary, you can also compare where to stay in Tokyo, things to do in Kyoto, and where to stay in Osaka if Japan is part of your route. These destinations have different entry rules, so keep your Indonesia documents separate from your Japan planning.
Our guides to day trips from Tokyo and Japan visa planning can also help if your trip extends beyond Indonesia. I’d use them for itinerary inspiration, then verify every country’s current entry requirements independently.
FAQ
What Is The Easiest Indonesia Visa Route?
The easiest route depends on your passport, purpose, length of stay, and current eligibility. Some travelers may prefer to arrange an online application before departure, while others may be eligible for an Indonesia visa on arrival. Check the official instructions that apply to you and avoid choosing based only on another traveler’s experience.
What Should I Know About Indonesia Visa for US Citizens?
Anyone researching an Indonesia visa for US citizens should verify the latest requirements for United States passport holders, including the permitted travel purpose and application route. Confirm the information shortly before departure and keep supporting documents accessible during the journey.
How Should Indians Plan an Indonesia Visa?
Travelers researching an Indonesia visa for Indians should check the current instructions specifically for Indian passport holders. Prepare accurate personal and travel information, confirm whether your preferred route is available to you, and do not assume that rules for another nationality apply.
Is Indonesia Visa on Arrival for US Citizens Available?
The availability and conditions of an Indonesia visa on arrival for US citizens can depend on current rules and the purpose of travel. Verify the latest information before flying, and make sure your documents match the trip you intend to take.
What Commonly Goes Wrong With an Indonesia Visa Application?
Common problems with an Indonesia visa application include inconsistent names or dates, incomplete documents, selecting an unsuitable travel purpose, and waiting too long to check requirements. Review every field carefully, save confirmations, and investigate changes before they become urgent.
Before you leave, you can compare Indonesia travel services with EKTA and review Indonesia eSIM plans with Airalo. Check the latest terms, inclusions, coverage, meeting details, and cancellation conditions so both services genuinely fit your route.
What To Do Next
Your Indonesia visa preparation becomes much easier when you turn it into a short checklist: identify your purpose, check the rules for your passport, gather accurate documents, choose the appropriate route, track your permitted stay, and prepare your arrival and connectivity plan.
My next step would be to write down your passport country, intended dates, arrival point, and travel purpose, then verify the current requirements before making final bookings. Once your Indonesia visa details are organized, give yourself permission to focus on the fun part: choosing the islands, foods, landscapes, and local experiences that will make the journey your own.
This post contains affiliate links. If you book through them, I may earn a small commission at no extra cost to you.